Project 2 : Interior and Exterior rendering| Photoshop
This project involves the production of photorealistic still renderings using 3DS Max of the selected architecture design with materials, appropriate camera views and post-production enhancement on the visual outcome. The visualisation work would be assessed on the types and ways materials are used, types of lights and effects used to set up the scene, setup of appropriate camera views for rendering and skills of using postproduction tools to enhance the visual outcome.
Exterior rendering

Step 1 : Save revit model file to FBX file and import in to 3ds Max

Step 2 : Apply material by using bitmap in material editor. Materials can be found in google images

Step 3 : Apply depth texture by using bump and increase its intensity

Step 4 : Apply the material to the selected object

Step 5 : Change the background view to environment background to have realistic effect

Step 6 : Apply another material to the material editor

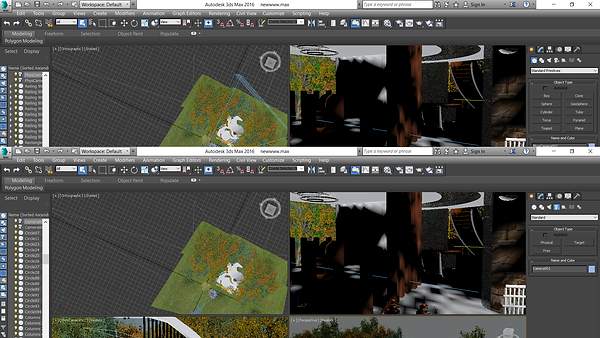
Step 7 : Edit the material face and scale by using UWV Map.

Step 8 : Edit the material by using UWV map with Gizmo editor to change the material image scale and size freely

Step 9 : Edit the scale of the material image by using UWV map (Gizmo)

Step 10 : Using Art and design default material and apply to the selected object

Step 11 : Using art and design metal material to the selected railings

Step 12 : Using default glass material and check its transparency

Step 13 : Testing modifier by using Hair and fur to represent grass for the base. However, the outcome is not good.

Step 14 : Modifying the hair and fur texture

Step 15 : Adding exterior daylight

Step 16 : Change the daylight settings to mrsun and mrsky. Test render for the daylight image

Step 17 : 3D model can be downloaded from archive 3d and import to 3ds max

Step 18 : Edit the surface and apply the material one by one by changing it to editable poly

Step 19 : Edit the window by using editable poly and test render

Step 20 : Adjust the daylight to appropriate place

Step 21 ; Import the downloaded 3d objects and apply to the model and change its materials

Step 22 : Adding trees and changing its material by using editable poly

Step 23 : Adding skyportal to areas that is dark

Step 24 : Modifying the environment and effect settings

Step 25 : Adding physical camera to find the right exterior angle view

Step 26 : Test render

Step 27 : Adding more trees and landscape and test render
Interior rendering
Step 28 : Apply target camera to find a suitable interior view

Step 29 : Apply furniture to the interior space

Step 30 : Edit material and add to the furniture

Step 31 : Edit the materials size by using UWV map

Step 32: Test the interior render

Exterior render

Interior render
Photoshop Exterior

Step 33 : Download human figure images

Step 34 : Cropping out the human figure

Step 35 : Add the human figure to the exterior picture and also add clouds to the environment.

Step 36 : Adding birds to the environment

Step 37 : Adding grass texture to the edges by using brush tool

Step 38 : Exterior rendering with photoshop. Next is to add tone and filter the image with camera raw filter
Photoshop interior

Step 39 : Download image from google and apply to photoshop

Step 40 : Adding human figure and picture to the interior space

Step 41 : Adding sunlight rays to the interior sapce

Step 42 : Edit sunlight ray with radial blur

Step 43 : Interior rendering with photoshop. Next is to apply filter to the image with camera raw filter.
Before photoshop


After photoshop and Final renderings


Reflection
In this project, I have a better understanding and insight in learning how to render image by using 3ds max and photoshop. It allows me to enhance the visual view of rendering photorealistic images. It helps me to apply this skill in further of my projects.

Discipline specific knowledge


Lifelong learning
Thinking and problem solving skills

Digital literacy

Intrapersonal skills